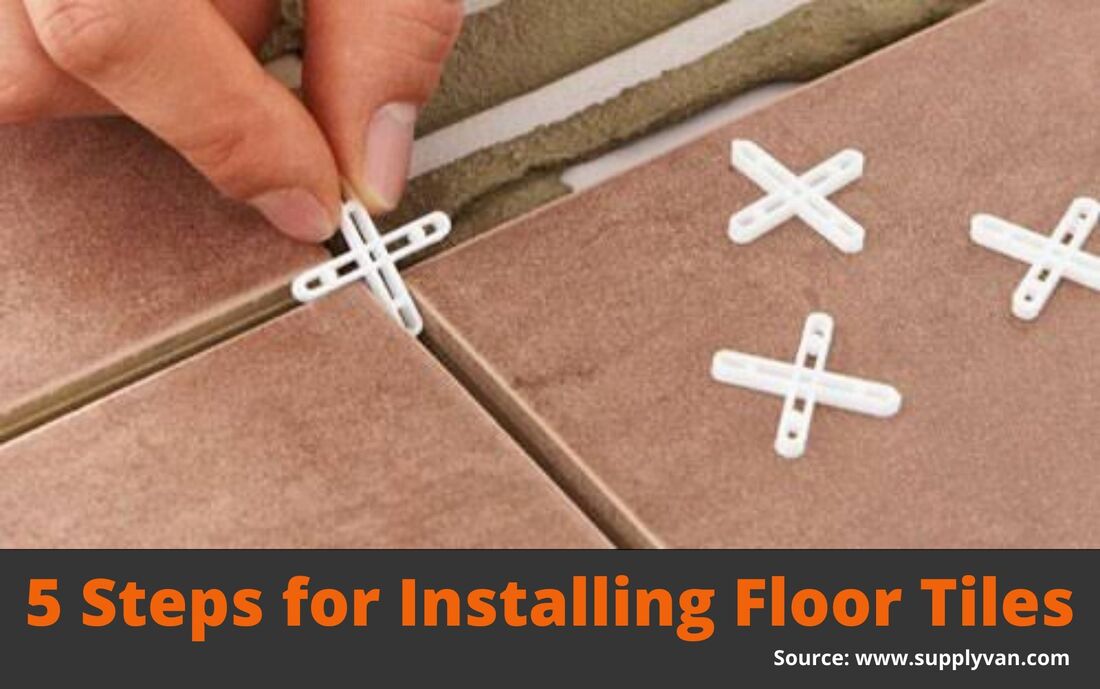
 Are you planning to redo your floor? Then you probably are aware that hiring a professional tile setter can cost a fortune, especially if you are redoing the entire place. On the other hand, when you decide to install floor tiles on your own, you can save a significant amount of money. Although a DIY project such as this isn’t as easy as one may think it is. You need to acquire the skills and have the right knowledge regarding tile installation. Once you learn how to place tiles yourself, you won’t have to depend on anyone. Here are the steps for you to follow to perfectly install tiles at your home: Keep your Tool Kit Ready The most crucial tip of all is to never start working until you have all the required equipment. By doing so, you won’t have to waste any time trying to get one when needed. Don’t take any of the tools lightly you never know when you might need it. You can check out what are the basic tools for tiling and prepare your tool bag accordingly. Some of these tools are tile saw, electric mixer, and tile spacers. Level the Floor After purchasing the tools, the first thing to do is level the floor where you are going to place the tiles. You can use floor leveler like a trowel for equalling the surface. While leveling the floor, make sure that there isn’t any unwanted material left there that can make the surface uneven. In case, you leave it unnoticed it will restrict your further process. Work on the Layout Any smart DIYer knows the importance of making a layout beforehand. It helps an individual to install tiles in perfect alignment without causing imbalance. You can mark lines across the room starting from the center. If the room where you are going to redo the floor is too big and you don’t have to layout the complete floor in one go. You can divide it into 2 or 3 parts and then start. In addition to this, you may also keep wires over the chalk marks that can be cut with a bolt cutter. Cut Tiles into Needed Shapes You have to be very careful about this step. By marking on the tiles with a pencil you can ensure that you are not making unequal cuts. Since it is a very delicate phase of tile installing don’t take any chances. You should bring home a quality cutting tool that allows you to make clean and precise pieces of tiles on time. Besides, this way you can also prevent wasting tiles. Install the Tile Lastly, once you are done with every above-mentioned step, you are ready to do the tiling. Apply the adhesive on the floor and wait for it to settle. Then begin placing the tiles gently on the marked spaces starting from the center of the room. Do not slide the tile but just drop it over the surface. Conclusion Now that you have the simple steps for tile installation to follow, you can shop online at SupplyVan for your a variety of tiling tools.
0 Comments
|
AuthorSupplyVan.com is a U.A.E. based online tools and hardware store to buy Industrial goods, MRO products and General office supplies. CategoriesArchives
February 2020
Categories |
 RSS Feed
